14. Developing Ada Applications in Xilinx Vitis
This chapter is intended for users already familiar with Xilinx Vitis and GNATbench. Some familiarity with GNAT Pro is also useful. For more information on GNAT Pro please refer to the GNAT Pro User’s Guide and the GNAT User’s Guide Supplement for Cross Platforms, available on GNAT Tracker.
Note: at the moment, importing existing Ada projects into GNATbench on Xilinx Vitis is not tested. If you have such projects, follow the tutorial on how to create a new Ada application and copy the code and configuration files from your previous project to the new project. Do note that if you have an existing GPR file, look at the GPR file created by GNATbench for any modification you may need to apply to your own GPR file.
This process works with Xilinx Vitis 2021.x and 2022.x. On 2022.x however installing GNATbench fails due to a problem in Vitis. The problem with a workaround is described in this support thread.
Please contact AdaCore if you need any help.
14.1. Installing GNATbench
14.1.1. Requirements
Prior to installing GNATbench, first install GNAT Pro and ensure its
binaries are located on your path before starting Xilinx Vitis. On Windows, the
installer will update your environment path to include GNAT Pro if
the option is selected during installation. On Linux, the installer will
provide instructions on how to update PATH variable at the end of the
install.
14.1.2. Downloading GNATbench
GNATbench is downloadable from GNAT Tracker and can be found on the Release Download page under the IDE section. Download the GNATbench ZIP archive that corresponds to your host platform. Once downloaded, you will install the plug-in through the Eclipse plug-in installer, so there is no need to expand the ZIP archive.
14.1.3. Installing
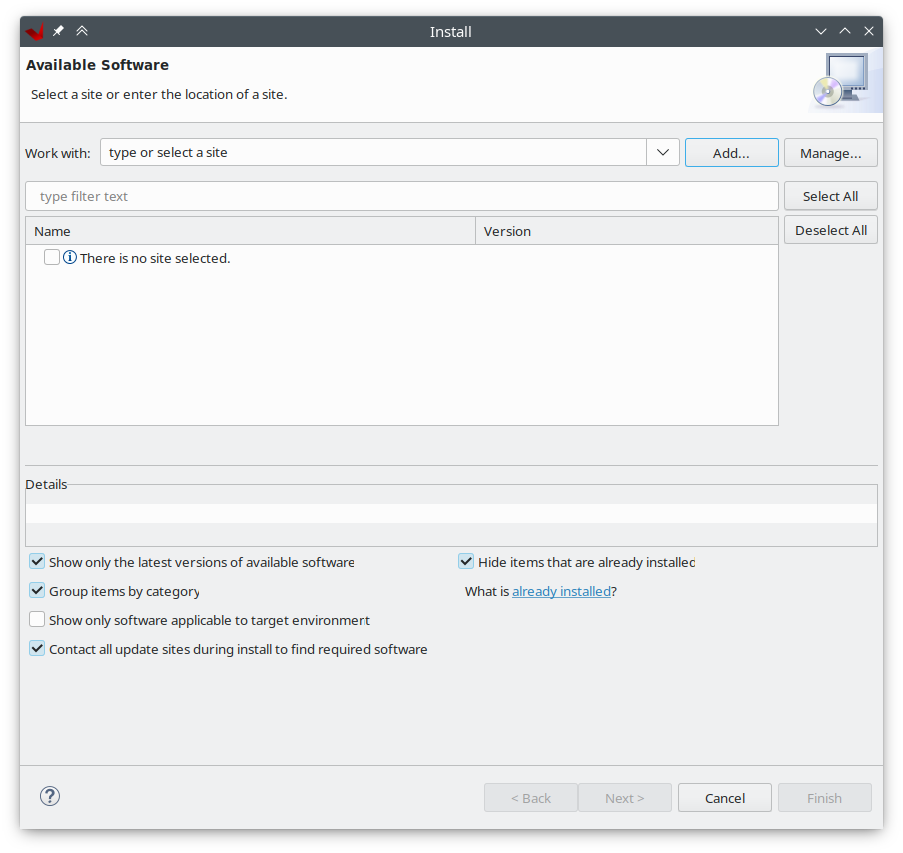
Install GNATbench in Vitis. To do this click on Help → Install New Software.
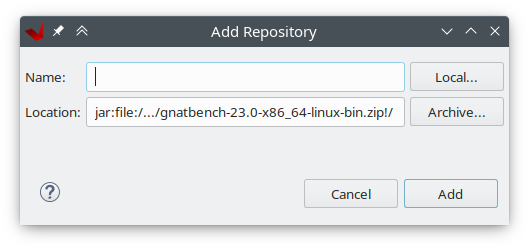
The plugin install window will open. Click on Add to add the gnatbench archive.
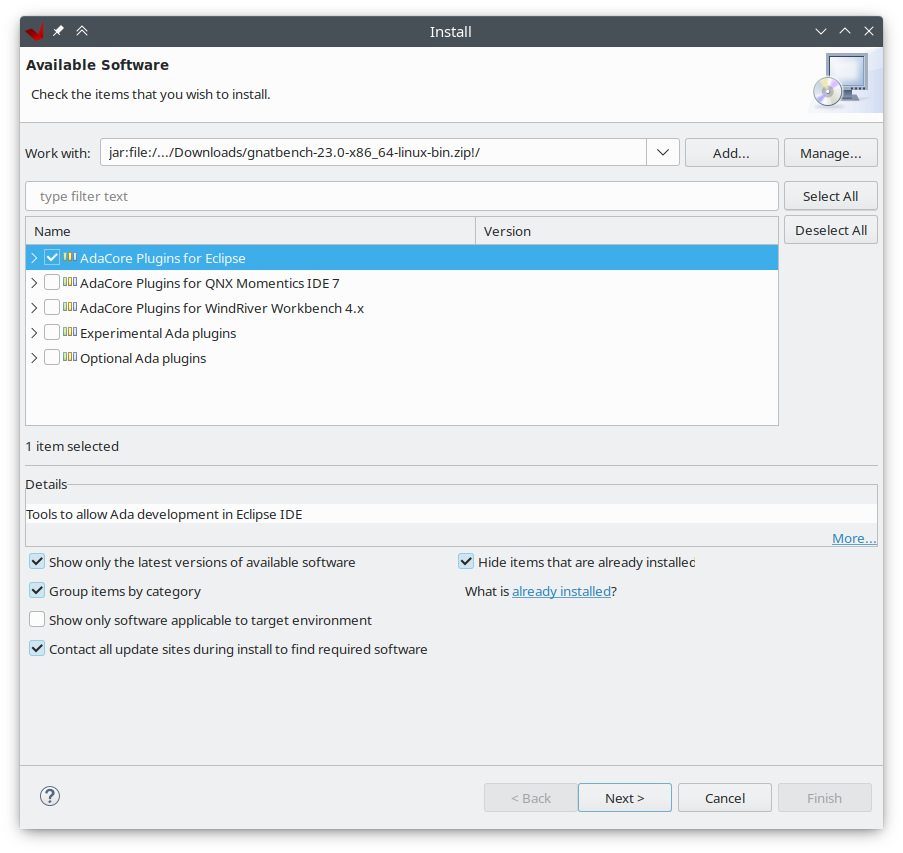
The GNATbench plugins will show up in the installation window. Select
AdaCore Plugins for Eclipse, click on Next and follow the installation process.
Once the installation has finished, restart the Vitis.
Once GNATbench is installed and Xilinx Vitis has been restarted, confirm that
GNATbench can find the GNAT Pro toolchain for your target by opening the
Eclipse properties and selecting the GNATbench properties page. GNAT Pro
for your target should be listed below.
14.2. Creating an Ada Application in Xilinx Vitis
This tutorial walks you through the process of creating a new Ada application for the Xilinx Zynq UltraScale+ MPSoC ZCU102 Evaluation Kit in Xilinx Vitis.
14.2.1. Create a new Platform Project
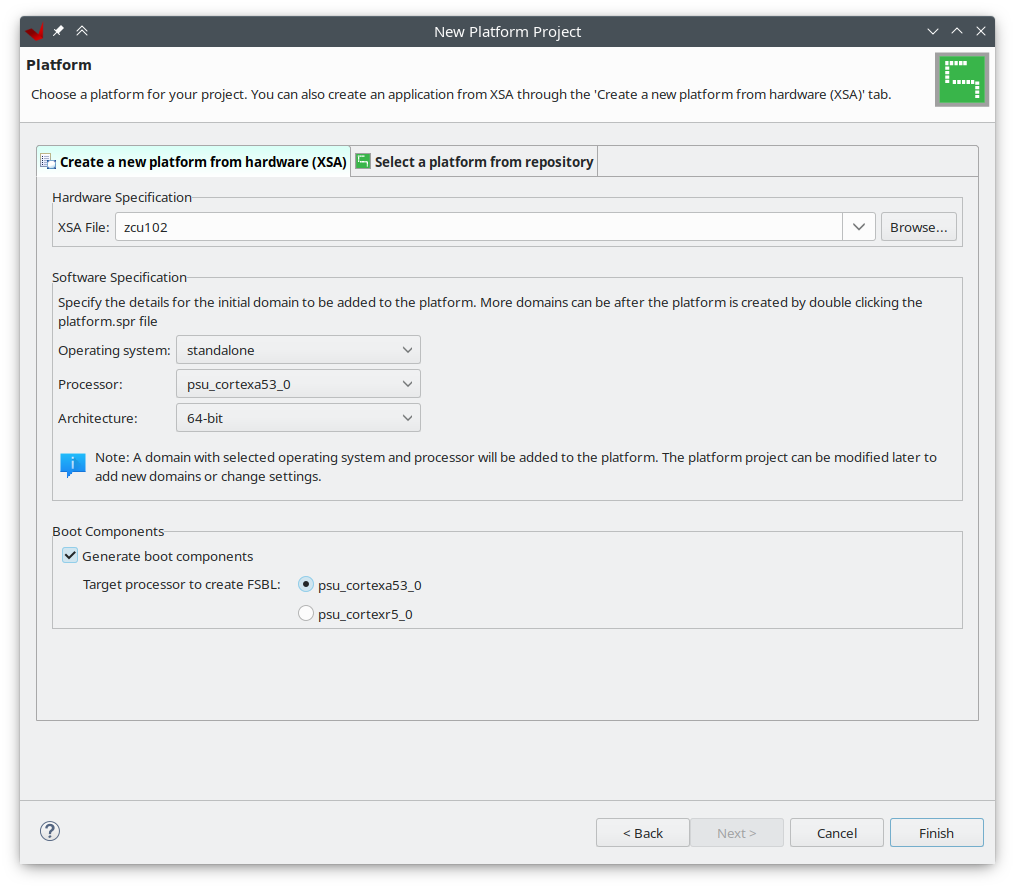
To create an Ada application for the ZCU102, first create a new platform project
by selecting File → New → Platform Project.... In the New Platform Project window,
enter zcu102_platform as the platform project name and click Next.
.. image:: images/zcu102_platform_project.png
Under Hardware Specification, select zcu102 from the XSA dropdown menu. Keep the default values
and click Finish.
14.2.2. Create a new Application Project
Create a new application project by selecting File → New → Application Project...
In the wizard that opens, select the previously created zcu102_platform platform project.
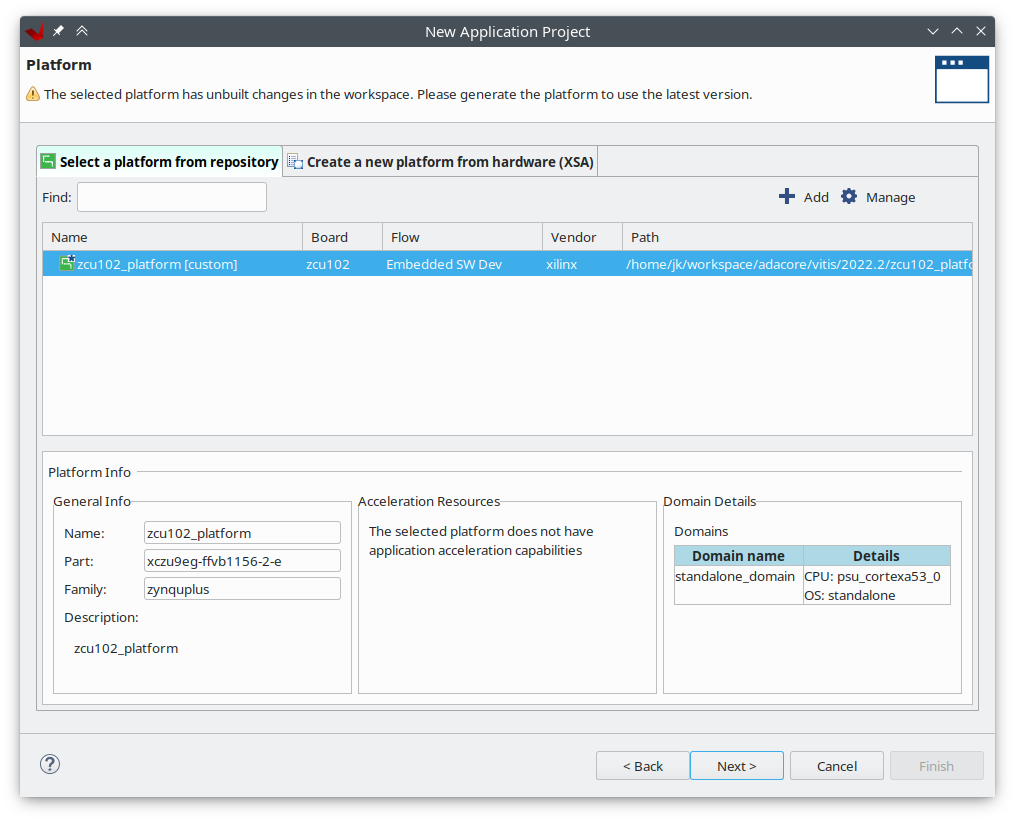
Click Next and name the application ada_hello_world.
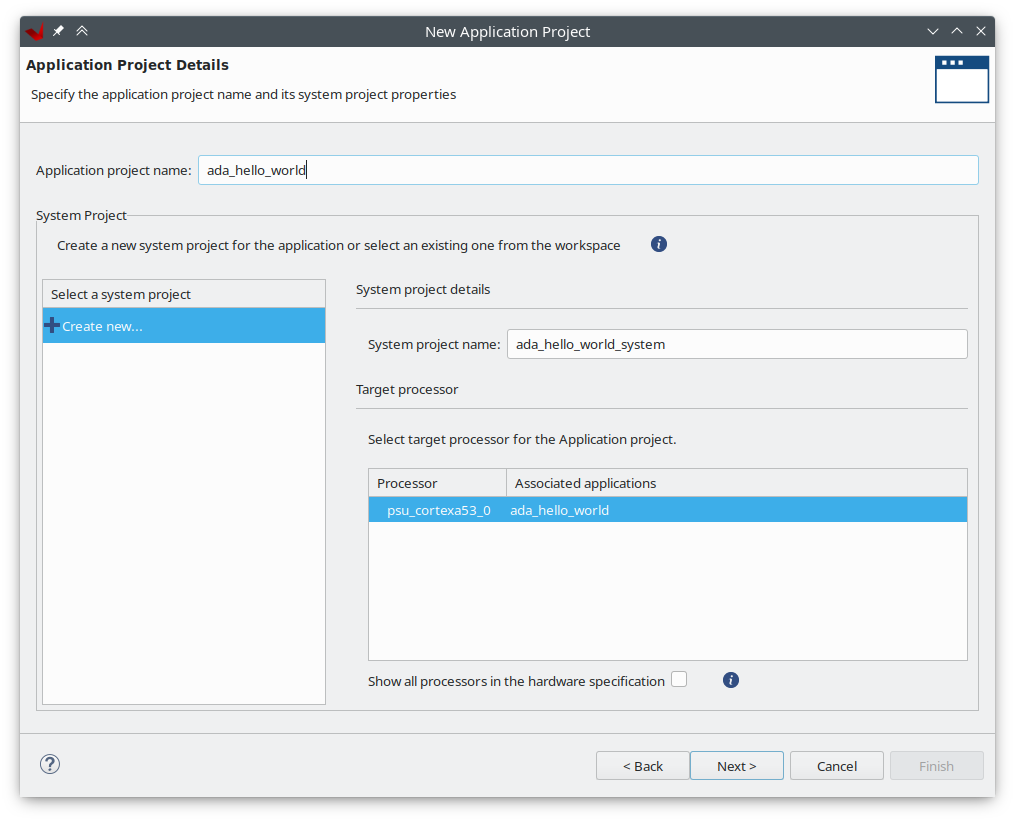
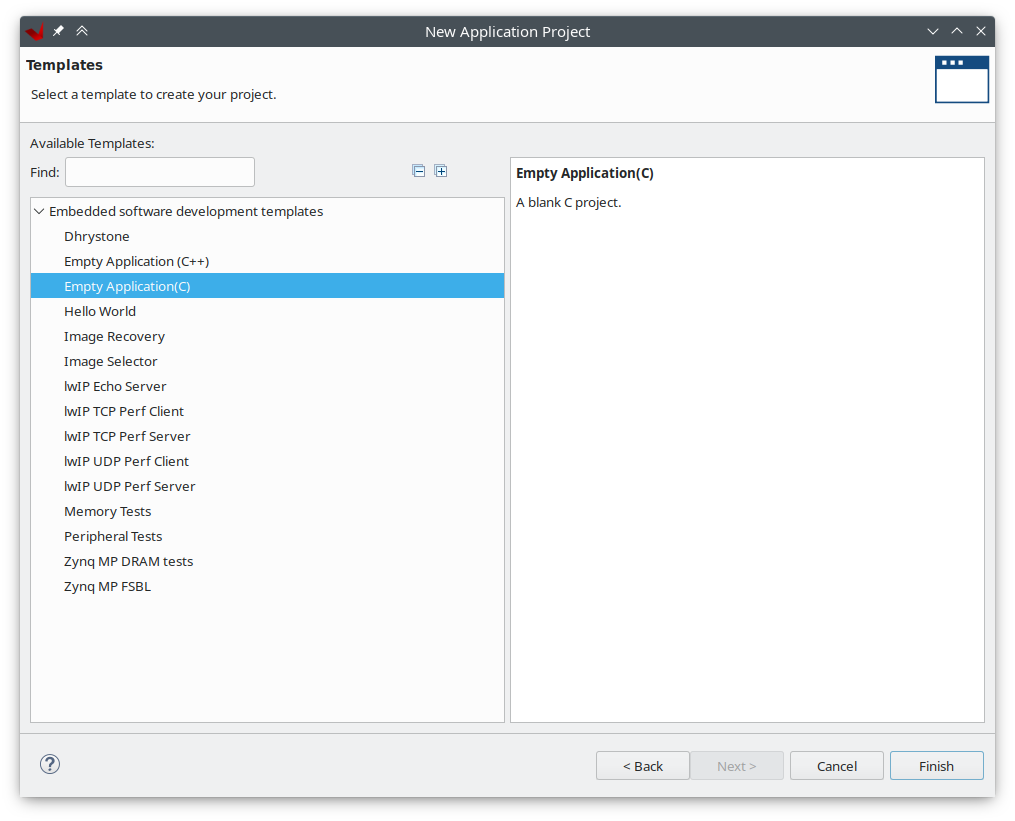
Click Next until template selection window appears. Chose Empty Application (C) and click Finish.
This will create two new projects, a system project called ada_hello_world_system and the application
project called ada_hello_world.
14.2.3. Convert the Application Project
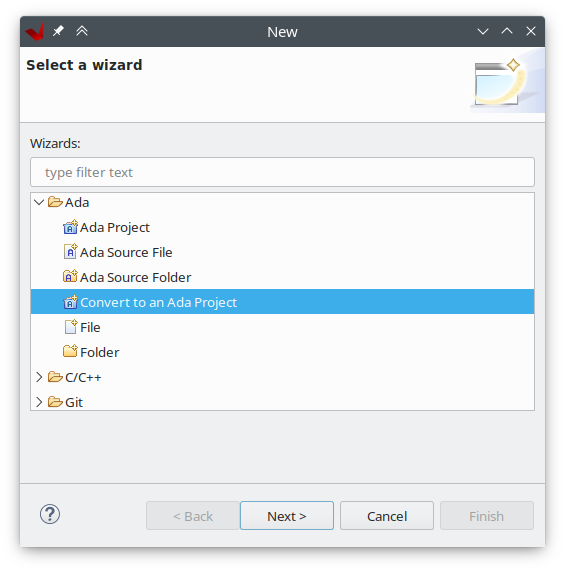
To convert the ada_hello_world project to an Ada project right click on the project and
select New → other. Expand the Ada folder and select Convert to an Ada project.
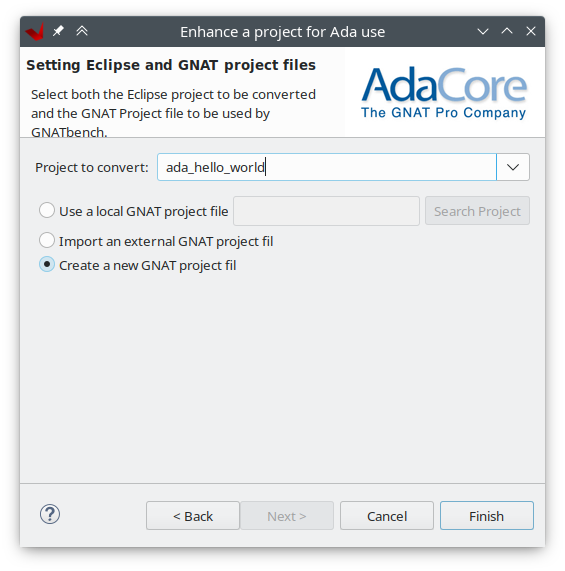
The next screen will ask which project file is going to be used with the newly created Ada project. Select
Create a new GNAT project file.
In the last step you can decide if the project is a single project or a library. Select Single Project and keep
the project unit name as ada_hello_world.

Click Next until you reach the Ada Building Setting page. Ensure Ada is selected under languages and the
aarch64-elf is selected as the toolchain.
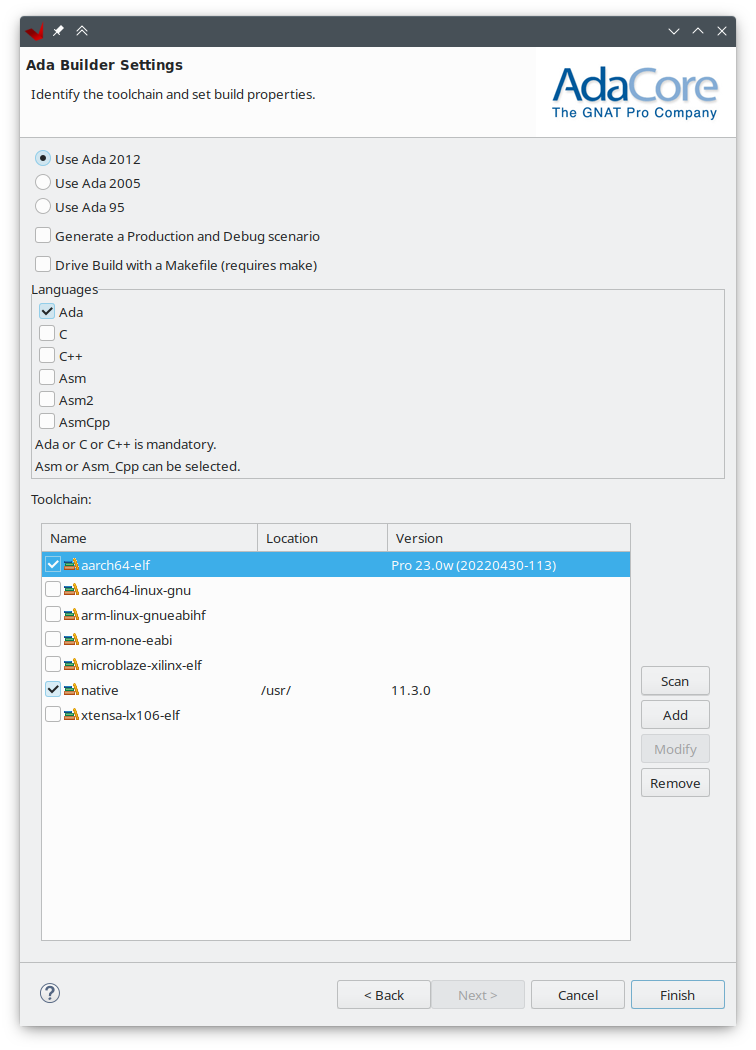
Click the Finish button to perform the conversion.
14.2.4. Build the Project
The project is now ready for development.
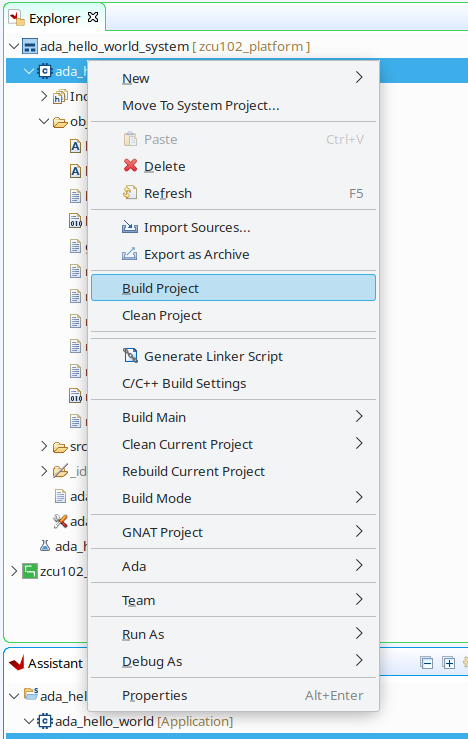
Build the application by right clicking on the ada_hello_world project and select Build project.
The project will then be built. Vitis may show that there is nothing to build for this project.
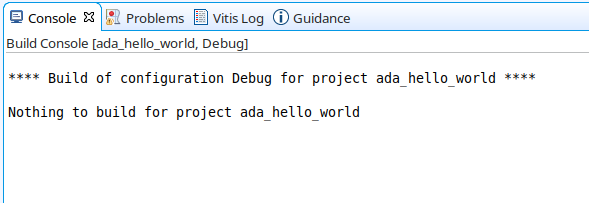
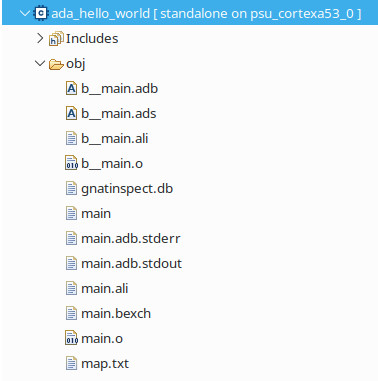
The build consolse will indicate a successful build with Nothing to build for project ada_hello_world as the IDE does not check
for gprbuild by itself. You can validate that the build was successfull by checking that main exists in the obj directory:
14.2.5. Running and Debugging the Project
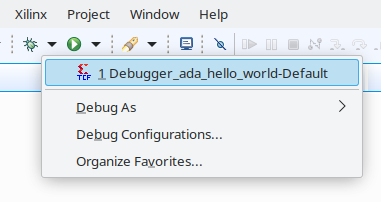
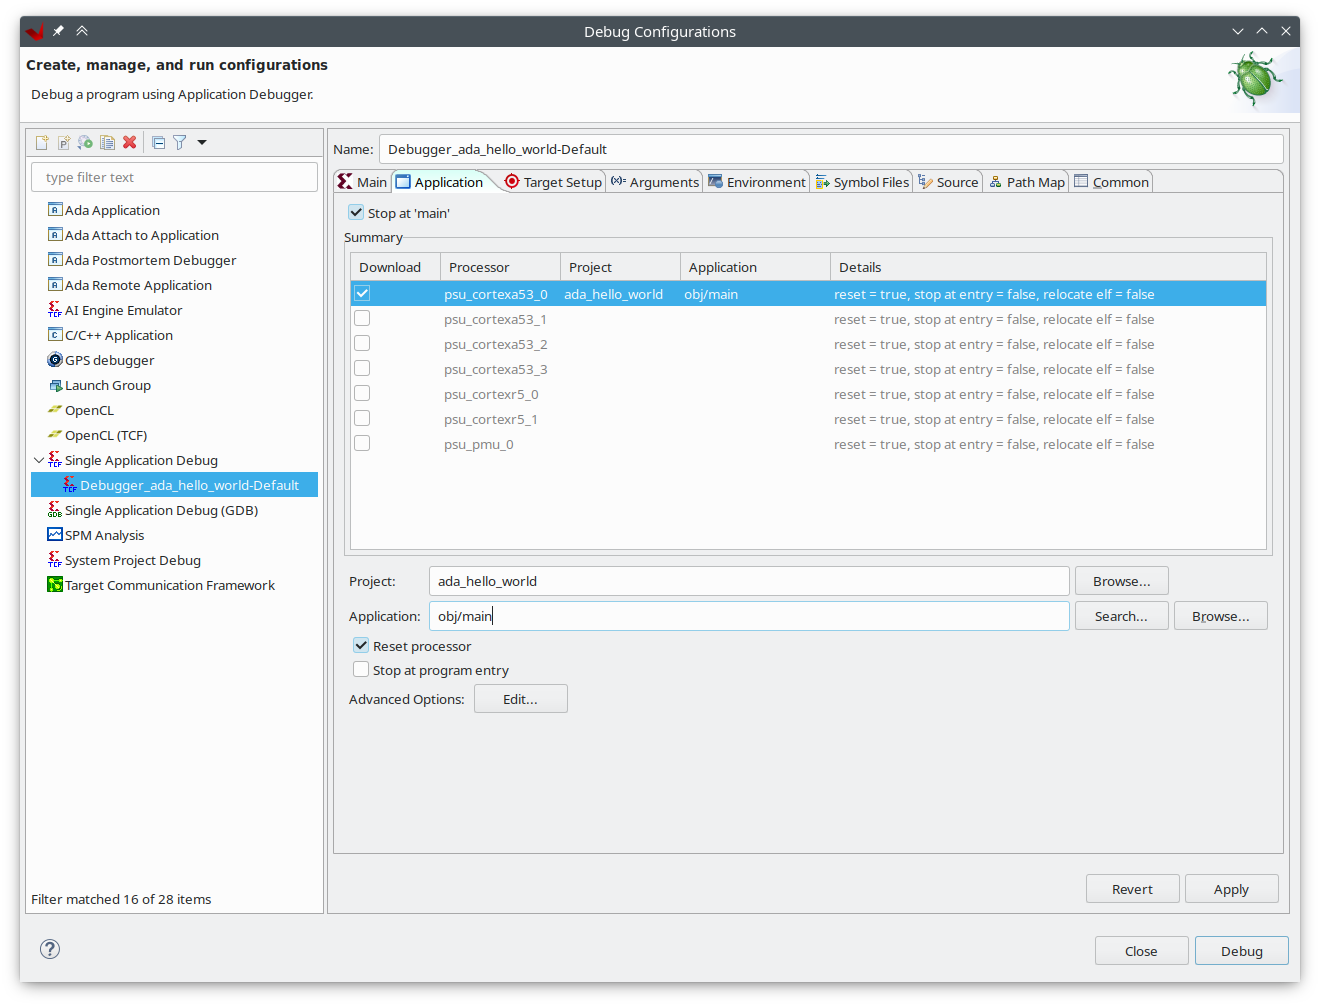
To debug an Ada project a new debug configuration needs to be added. This can be done by clicking Debug As → Debug Configurations.
In the window that opens double click on Single Application Debug to create a new configuration. Go to the Application tab and
change the default value of Application which is Debug/ada_hello_world.elf to the file generated by gprbuild. In our case
that is obj/main. Click Apply to create the new debug configuration.
You can now debug the application by selecting the newly created configuration from the debugging menu.